Action Tasks
Action Tasks are tasks that the agent has to execute if the attached decision has been selected. They are executed either in sequence or in parallel, depending on the execution mode of the action list.
What is the action task system based on?
Utility Intelligence uses Behavior Trees to create and execute action tasks. Basically, the action task system is a simplified Behavior Tree. It includes some popular nodes such as Repeater, Sequencer, and Parallel.
Execution Modes
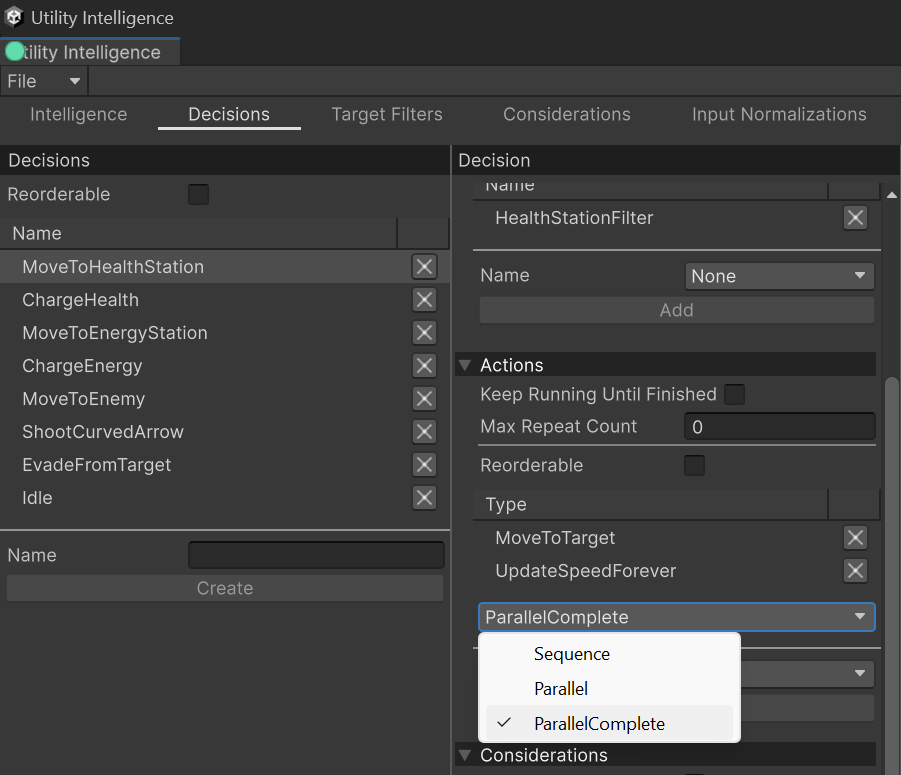
After the agent finds out the best decision, it will execute the action list either in sequence or in parallel, depending on your choice. Currently, there are two execution modes for the action list:
- Sequence
- The actions will be run sequentially.
- If an action finishes in success, the agent will run the next action, and the action list will finish in success if the last action finishes in success.
- If an action finishes in failure, the action list will finish in failure.
- Parallel
- The actions will be run simultaneously.
- The action list will finish in success if all actions are finished in success.
- If any action finishes in failure, other actions will be aborted and the action list will finish in failure.
- ParallelComplete
- The actions will be run simultaneously.
- If any action finishes in success or failure, other actions will be aborted and the action list will return the child status immediately.
You can choose the execution mode you want by selecting it from the action execution dropdown menu in the Decision Tab.
Max Repeat Count
It is the number of times to repeat the action list.
Note
- The action list will only repeat if it is finished in success.
- If
MaxRepeatCount<= 0 it will repeat forever until it returns failure.
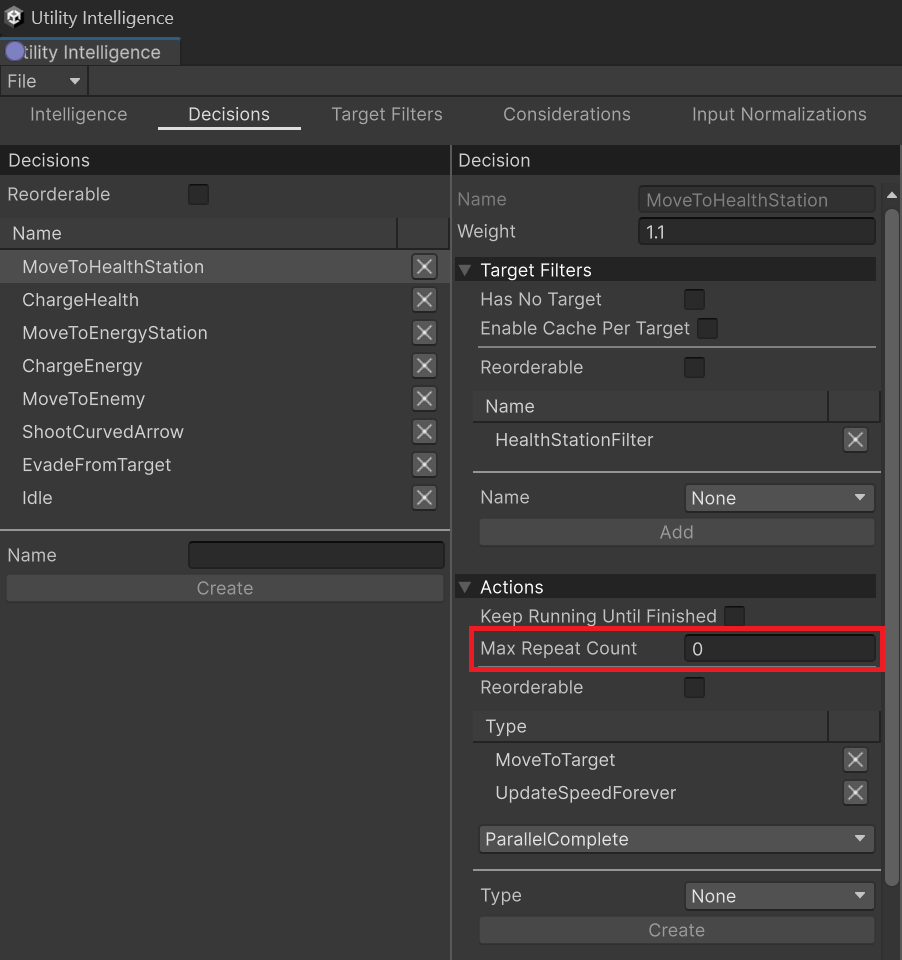
You can change MaxRepeatCount of the action list here:
Keep Running Until Finished
In case you want to prevent the current agent from making a new decision while the action list is running, you can check the option: Keep Running Until Finished in the Action List Editor.
Tip
- By enabling this option for important decisions, such as AttackEnemy, ChargeHealth, and ReloadAmmunition, it stops the agent from getting distracted by other non-important decisions. This helps reduce the oscillation between these important decisions and other non-important ones.
- For example, with AttackEnemy decision, you should enable this option because the agent needs to finish the attack before switching to another decision, such as RunAwayFromEnemy.
Note
- If you enable this option, the agent can only change its decision after the action list is finished, regardless of whether the scores of other decisions are higher than the current one.
- For example, with AttackEnemy decision, the agent can only switch to another decision after each attack is finished, even if the scores of other decisions such as RunAwayFromEnemy or ReloadAmmunition are higher than AttackEnemy.
- Additionally, if the score of the AttackEnemy decision remains the highest after each attack, the agent will keep running this decision.
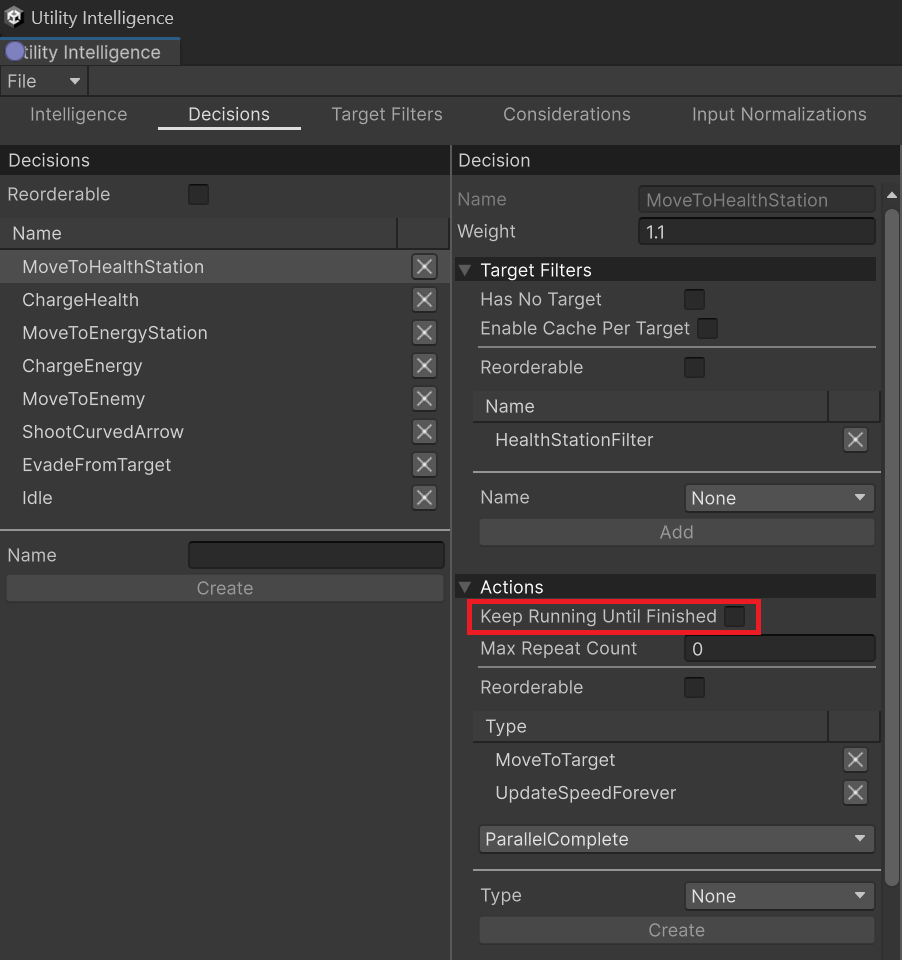
To enable/disable Keep Running Until Finished option, you need to check/uncheck it in the Action List Editor:
Creating Action Tasks
-
To create a new action task, define a new class that inherits from
ActionTask:
public class Wait : ActionTask { private float elapsedTime; public VariableReference<float> WaitTime = 1.0f; protected override void OnStart() { elapsedTime = 0; } protected override UpdateStatus OnUpdate(float deltaTime) { elapsedTime += deltaTime; if (elapsedTime > WaitTime) return UpdateStatus.Success; return UpdateStatus.Running; } } -
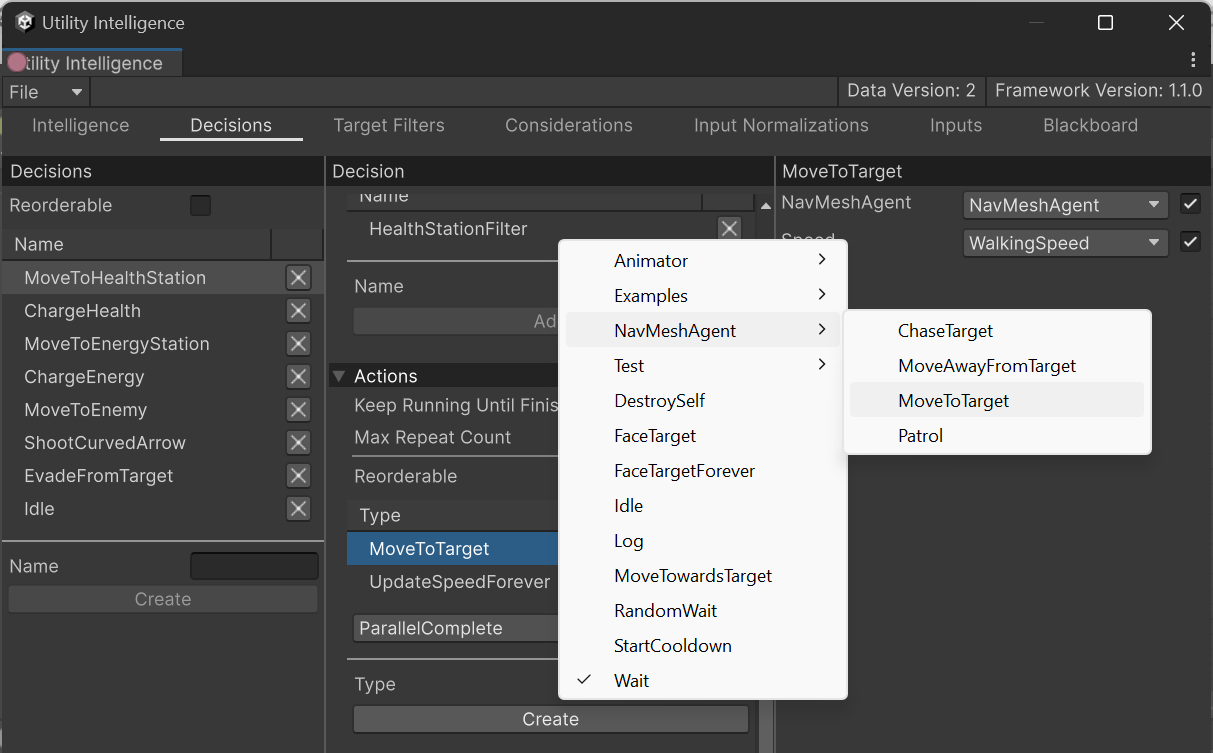
To assign the action task to a decision, select the decision in the Decision Tab, choose the action type, and then click the Create button:

Adding Parameter Fields
There are many cases when you need to add parameters to an action task to customize how it works. To achieve this, you need to declare these parameters as public fields in your action tasks. Here are some examples of how to do this:
[Category("Examples")]
public class StartMeleeAttack : ActionTask
{
    public MeleeAttackType AttackType;
    public int AttackDamage;
    public int AttackForce;
    public int ConsumeEnergy;

    public VariableReference<float> AttackRange;
    public VariableReference<int> AttackNumber;
    public VariableReference<string> AttackAnimationName;
}
[Category("Examples")]
public class StartRangedAttack : ActionTask
{
    public RangedAttackType AttackType;
    public int ConsumeEnergy;
    public int AttackDamage;
    public int ProjectileSpeed;
    public float MaxCurvedHeight;
}
Supported Field Types
Currently, only the supported field types can be serialized to JSON and adjusted using the Utility Intelligence Editor. Therefore, you should use these types when declaring parameter fields for your action tasks.
Action Task Statuses
At runtime, action tasks have 4 statuses:
: Running
: Success
: Failed
: Aborted
Built-in Action Tasks
Currently, Utility Intelligence provides these built-in action tasks:
- Idle: Does nothing.
- Always returns
UpdateStatus.Running.
- Always returns
- Log: Logs a message to the console.
- Wait: Waits until a wait time has passed.
- The wait time is specified in the
WaitTimevariable. - Returns
UpdateStatus.Successwhen the wait time has passed, otherwise, returnsUpdateStatus.Running.
- The wait time is specified in the
- RandomWait: Waits until a wait time has passed.
- The wait time is chosen randomly between the
WaitTimeMinandWaitTimeMaxvariables. - Returns
UpdateStatus.Successwhen the wait time has passed, otherwise, returnsUpdateStatus.Running.
- The wait time is chosen randomly between the
- DestroySelf: Safely destroys the current agent.
- MoveTowardsTarget: Moves to wards the target.
- Uses
Vector3.MoveTowardsto move the agent towards the target. - Returns
UpdateStatus.Successwhen the agent has reached the target, otherwise, returnsUpdateStatus.Running.
- Uses
- StartCooldown: Starts a cooldown.
- The start time of the cooldown is stored in the
CooldownStartTimevariable, which is used byCooldownElapsedTimeInputandIsInCooldownNormalizationto determine if the agent is within the cooldown duration.
- The start time of the cooldown is stored in the
- Animator
- SetBool: Set the value of the boolean parameter specified by
ParamName. - SetFloat: Set the value of the float parameter specified by
ParamName. - SetInteger: Set the value of the integer parameter specified by
ParamName. - SetTrigger: Set the value of the trigger parameter specified by
ParamName. - WaitUntilAnimationFinished: Waits until the specified animation is finished.
- Returns
UpdateStatus.Successif the animation specified byAnimationNamehas the normalized time greater thanFinishedNormalizedTime, otherwise, returnsUpdateStatus.Running.
- Returns
- SetBool: Set the value of the boolean parameter specified by
- NavMeshAgent
- ChaseTarget: Chases the target.
- The target position is updated every frame.
- Returns
UpdateStatus.Successwhen the agent has reached the target, otherwise, returnsUpdateStatus.Running.
- MoveToTarget: Moves to the target.
- The target position is updated only once at the start.
- Returns
UpdateStatus.Successwhen the agent has reached the target, otherwise, returnsUpdateStatus.Running.
- MoveAwayFromTarget: Moves away from the target.
- It will choose a destination at a distance specified in the
DistanceToNextPointvariable from the current agent with the direction based on an enum calledDirectionPriority. - Returns
UpdateStatus.Successwhen the agent has reached the destination, otherwise, returnsUpdateStatus.Running.
- It will choose a destination at a distance specified in the
- Patrol: Patrols around the waypoints.
- It will move to the next way point in the
Waypointsvariable if it has reached the current one. - Always returns
UpdateStatus.Running.
- It will move to the next way point in the
- ChaseTarget: Chases the target.
- FaceTarget: Faces the target.
- Returns
UpdateStatus.Successright after the first update.
- Returns
- FaceTargetForever. Faces the target forever.
- Always returns
UpdateStatus.Running.
- Always returns
Properties and Functions
Properties
Here are some useful properties that you can use in your custom tasks:
Transform Transform { get; private set; }

GameObject GameObject { get; private set; }

UtilityAgentController AgentController { get; private set; }
Functions
GetComponent Functions
You can get any component attached to the GameObject by calling these functions:
Coroutine functions
We provides these functions to help you start/stop coroutines from action tasks:
void StartCoroutine(string methodName);

Coroutine StartCoroutine(IEnumerator routine);

Coroutine StartCoroutine(string methodName, object value);

void StopCoroutine(string methodName);

void StopCoroutine(IEnumerator routine);

void StopAllCoroutines();
Overridable Functions
Here is the list of functions you could override to make your actions works as you want:
-
Lifecycle Functions:
-
Collision/Trigger 3D:
-
Collision/Trigger 2D:
-
Animation:
If you like Utility Intelligence, please consider supporting it by leaving a 5-star review on the Asset Store.
Your positive feedback motivates me to keep improving and delivering more updates for this framework.
Thank you so much for your support. I love you all! 🥰

Created : September 1, 2024


